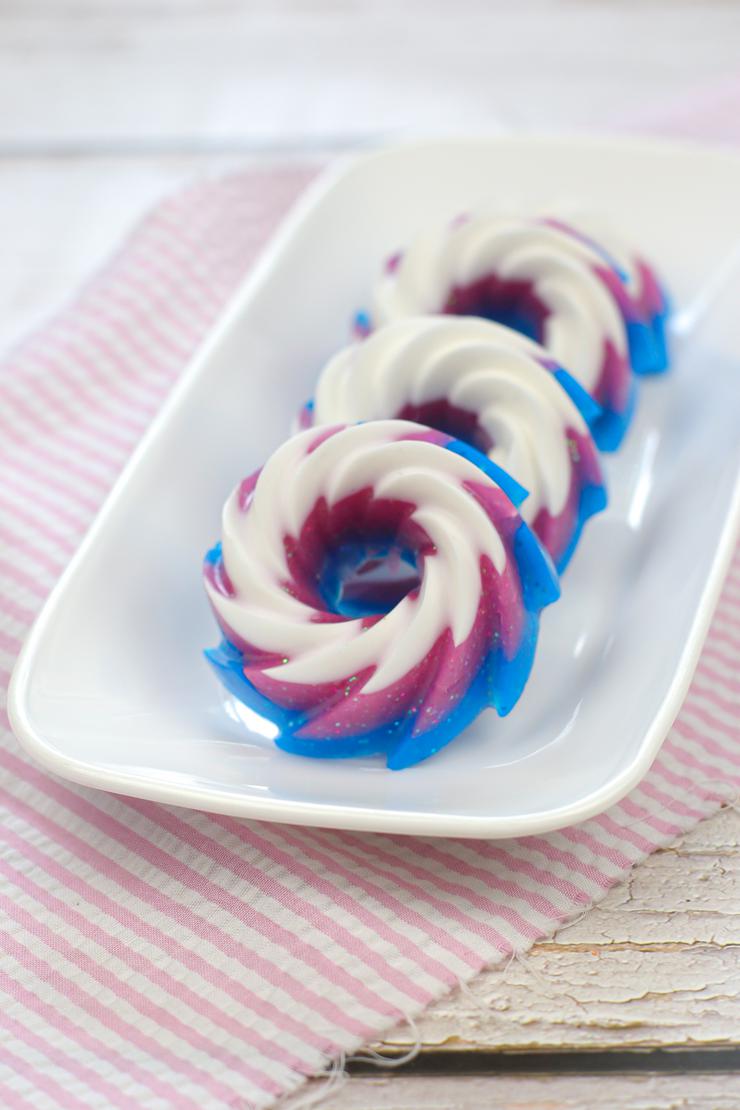
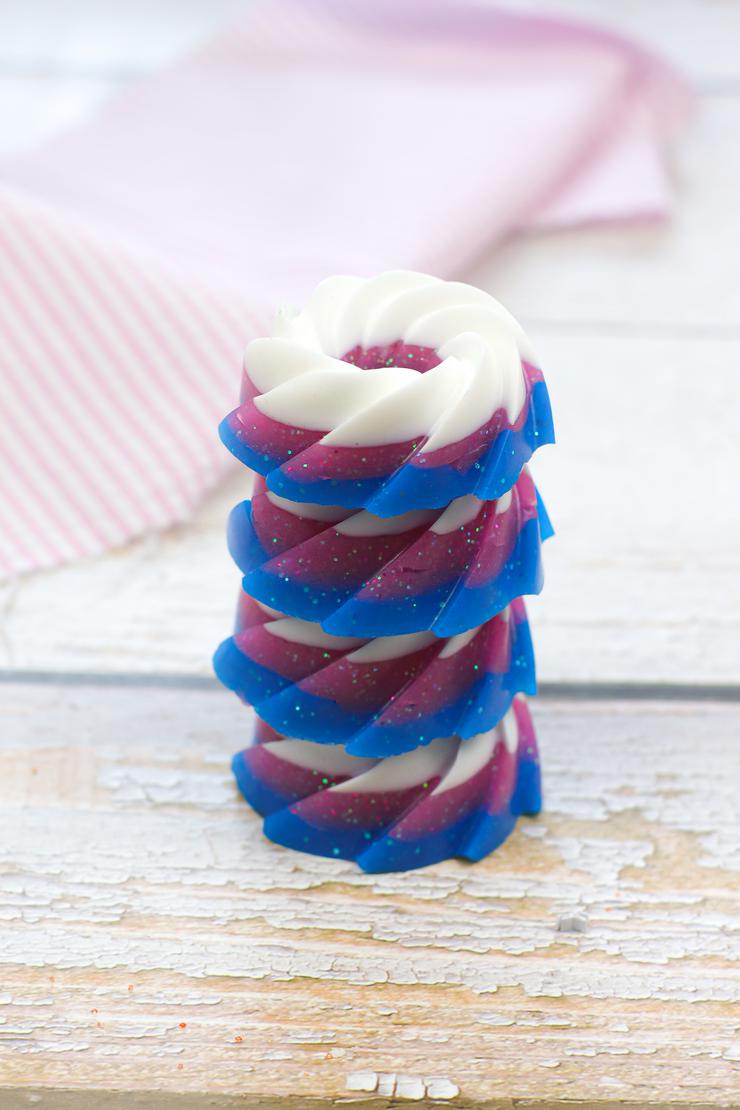
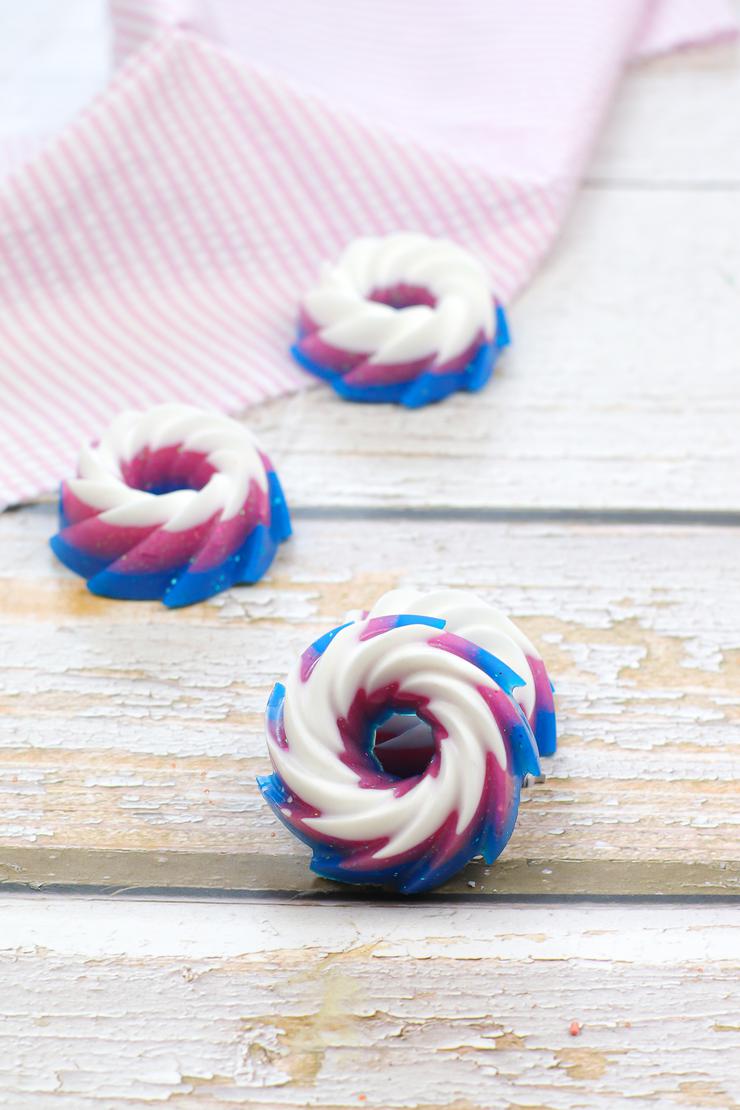
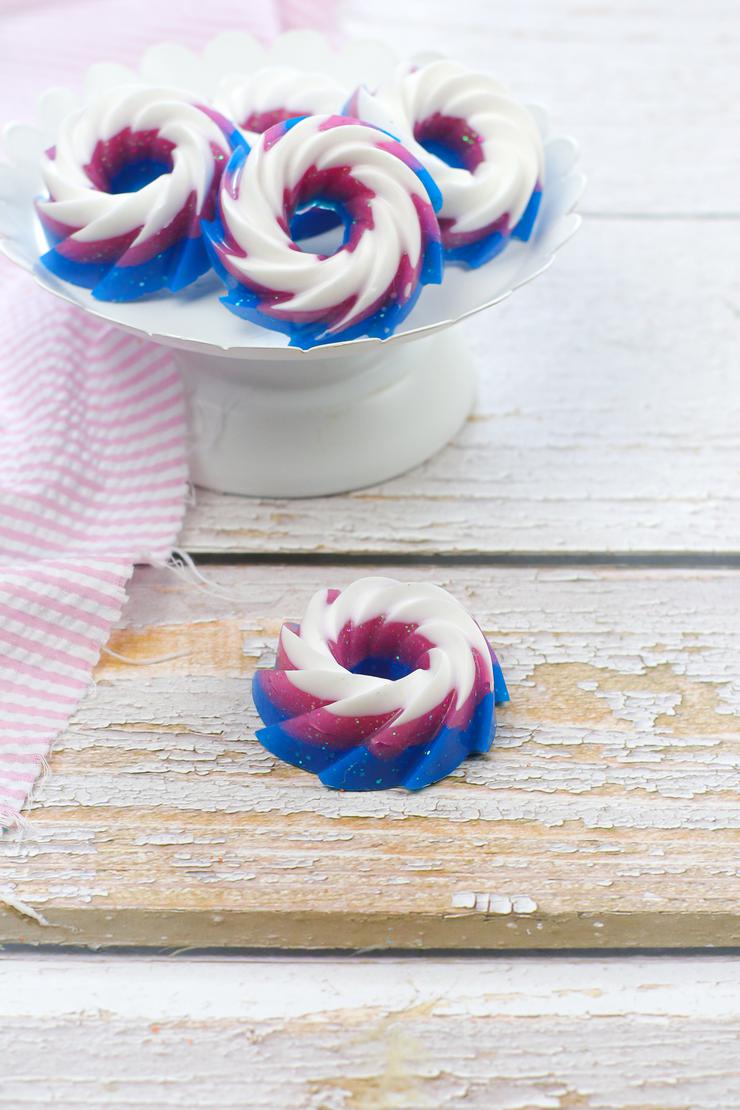
DIY Cotton Candy Soaps

Super fun and cool DIY cotton candy soap recipe you will want to make.
No need to buy store bought bar soap when you can make homemade.
Easy cotton candy soap bar that kids and adults will love.
Simple layered soap idea with cotton candy essential oils.
This cotton candy essential oil recipe for the coolest soap will be your new favorite.
Make soap for cheap at home with this this easy recipe.
If you are looking for an easy melt and pour soap idea this is the one for you.
Get ready to make the best DIY cotton candy bar soap.
![]()
Check out these other
DIY Recipes
DIY ROOT BEER FLOAT SUGAR SCRUB
DIY PINA COLADA SUGAR SCRUB BARS
How to Make DIY Cotton Candy Soaps
Directions for the First Layer:
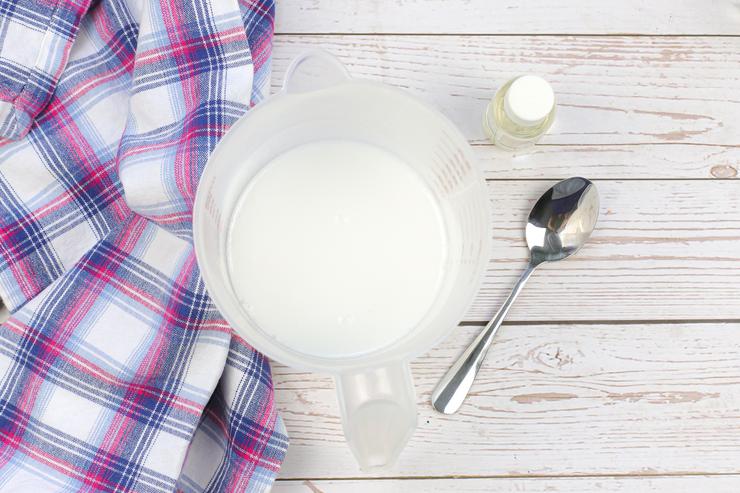
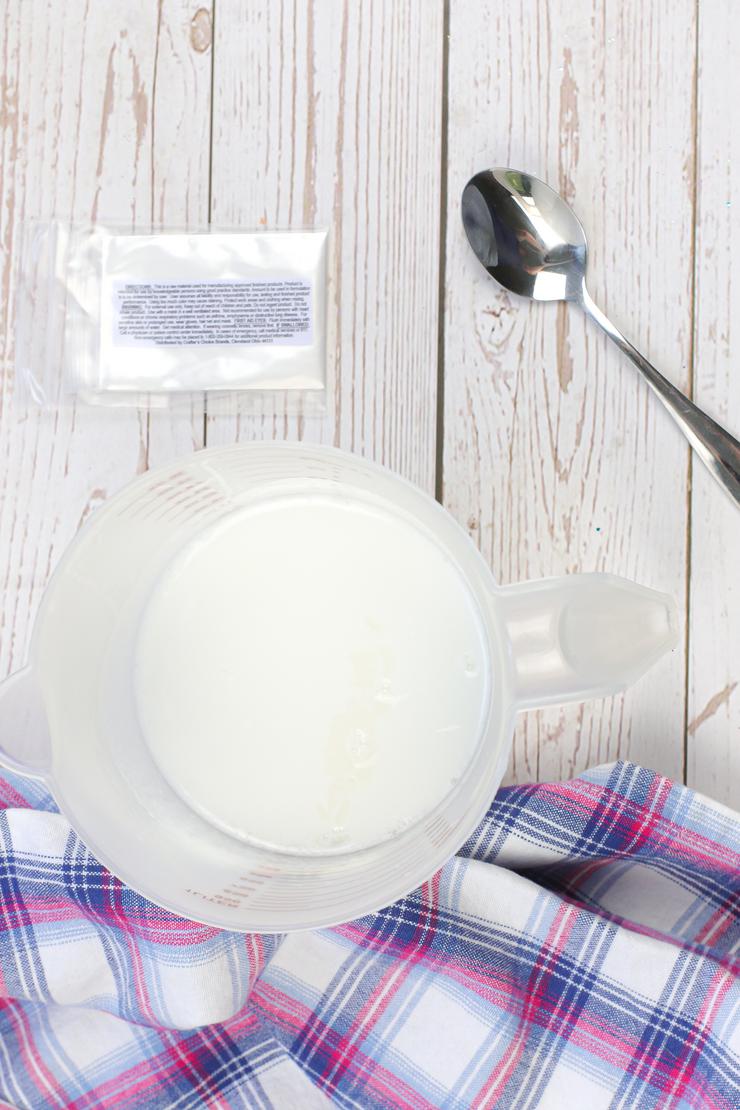
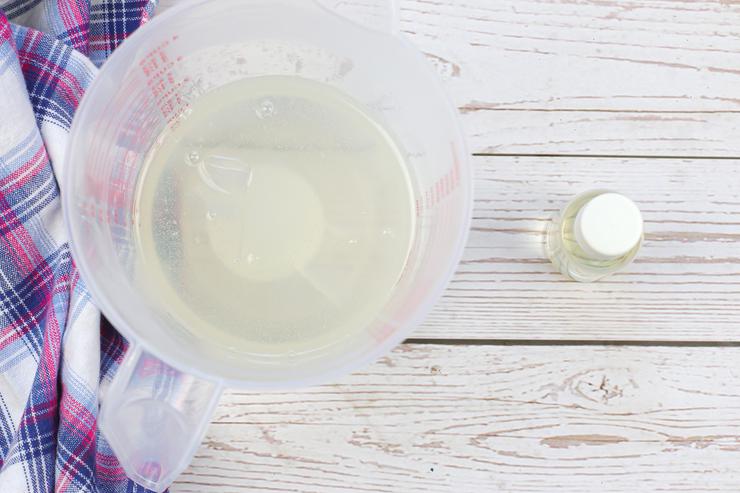
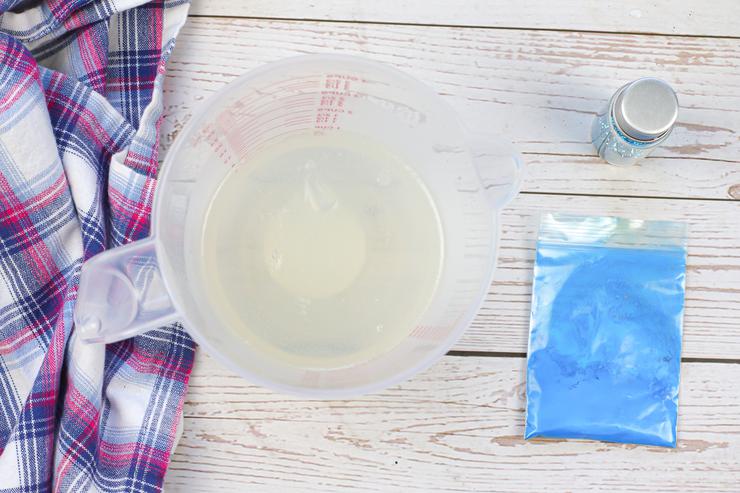
Add the white Goat Milk soap to one measuring cup.
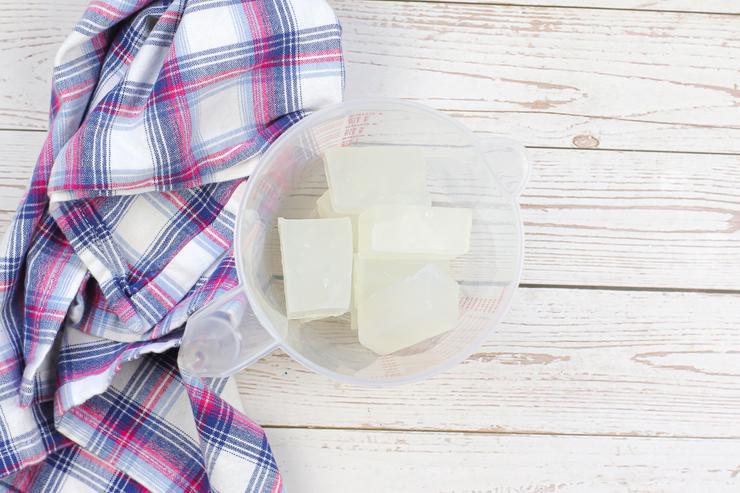
In the other 2 microwave safe measuring cups, evenly divide the clear melt & pour soap.

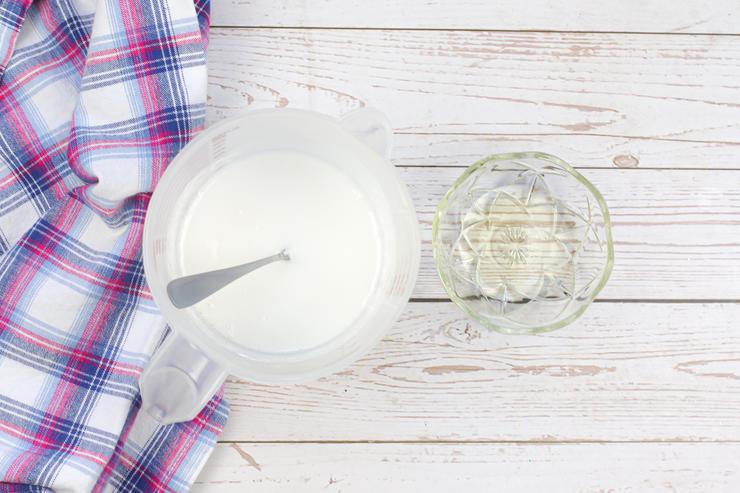
Heat the Goats Milk soap in the first measuring cup in 30 second bursts.
Stir in between each.
Continue until completely melted.
Add 2-3 drops of the scented oil.
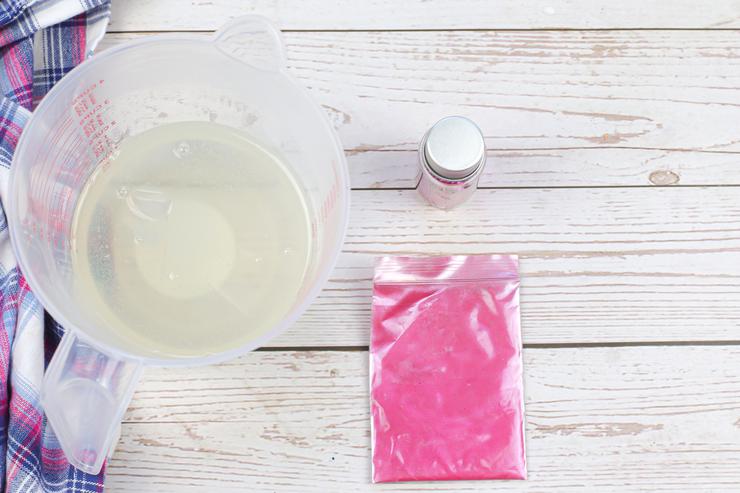
Add ½ teaspoon of the white mica colorant to the measuring cup.
Stir until fully incorporated. 1 teaspoon of the Polysorbate 80 to the measuring cup
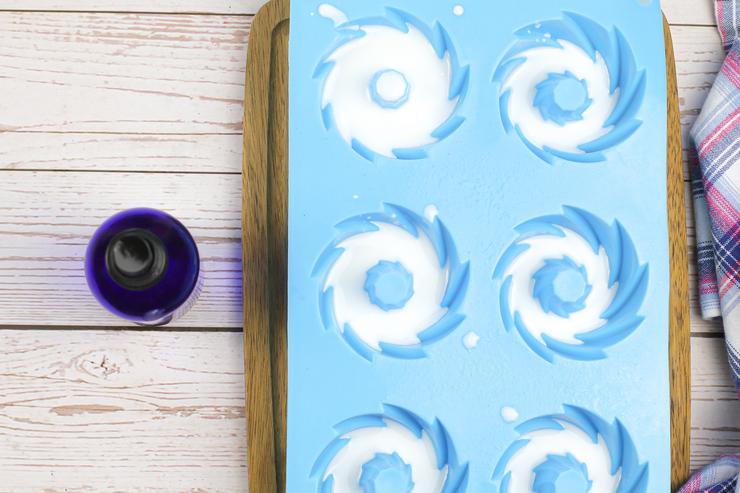
Spray each cavity of the mold with the rubbing alcohol.

Fill each cavity 1/3 full of the Goat Milk soap.
Spray the soap with the alcohol and allow to harden completely before moving on to the next layer.
Directions for the 2nd Layer:
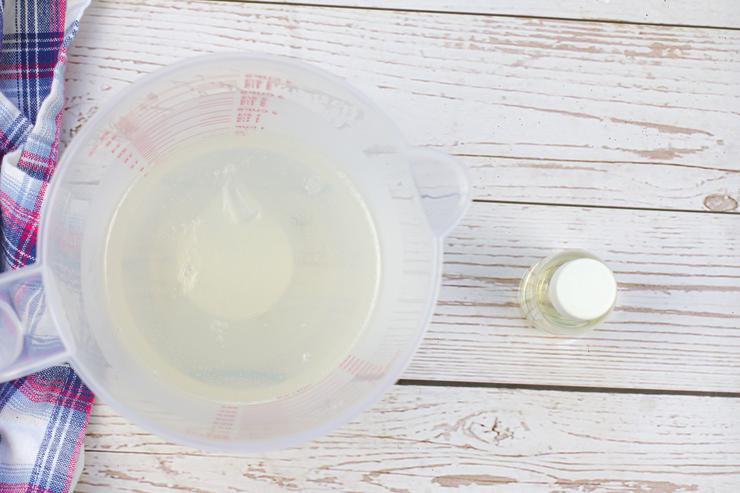
Heat the clear soap in the 2nd measuring cup in 30 second bursts.
Stir in between each.
Continue until completely melted.
Repeat Steps 2-4 above,
but this time with the pink mica.
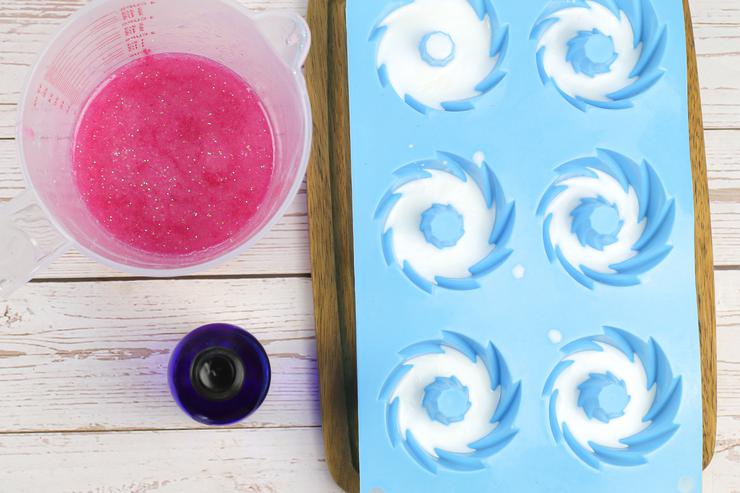
Fill each cavity 2/3 full of the pink.
Spray with the alcohol and allow to harden completely before moving on to the next layer.
Directions for the 3rd Layer:
Heat the clear soap in the 3rd measuring cup in 30 second bursts.
Stir in between each.
Continue until completely melted.
Repeat Steps 2-4 above, but this time with the blue mica.
Spray the soap from the first layer with the rubbing alcohol.
Fill each cavity full and spray with the alcohol. Allow the soaps to harden completely (at least an hour).

Gently pop the soaps from the mold and enjoy!

Please remember to SHARE on Facebook and PIN IT 📌
📌 FOLLOW ME ON PINTEREST BY CLICKING HERE

DIY Cotton Candy Soaps
Ingredients
Supplies Needed for the Soaps:
- *1-pound of unscented clear melt & pour suspension soap
- 1/2- pound of unscented melt & pour Goat Milk soap
- 3 teaspoons *Polysorbate 80
- White mica colorant
- Pink mica colorant
- Blue mica colorant
- Pink and blue cosmetic glitter
- **Cotton candy scented oil
Equipment Needed:
- Silicone mold
- Spray bottle filled with rubbing alcohol
- 1 large mixing bowl
- 3 heat resistant measuring cups
Instructions
Directions for the First Layer:
- Add the white Goat Milk soap to one measuring cup. In the other 2 microwave safe measuring cups, evenly divide the clear melt & pour soap.
- Step 1: Heat the Goats Milk soap in the first measuring cup in 30 second bursts. Stir in between each. Continue until completely melted.
- Steps 2-4: Add 2-3 drops of the scented oil. Add ½ teaspoon of the white mica colorant to the measuring cup. Stir until fully incorporated. 1 teaspoon of the Polysorbate 80 to the measuring cup
- Steps 5-6: Spray each cavity of the mold with the rubbing alcohol. Fill each cavity 1/3 full of the Goat Milk soap. Spray the soap with the alcohol and allow to harden completely before moving on to the next layer.
Directions for the 2nd Layer:
- Step 7: Heat the clear soap in the 2nd measuring cup in 30 second bursts. Stir in between each. Continue until completely melted.
- Steps 8-9: Repeat Steps 2-4 above, but this time with the pink mica.
- Step 10: Fill each cavity 2/3 full of the pink. Spray with the alcohol and allow to harden completely before moving on to the next layer.
Directions for the 3rd Layer:
- Heat the clear soap in the 3rd measuring cup in 30 second bursts. Stir in between each. Continue until completely melted.
- Steps 11-12: Repeat Steps 2-4 above, but this time with the blue mica.
- Step 13: Spray the soap from the first layer with the rubbing alcohol. Fill each cavity full and spray with the alcohol. Allow the soaps to harden completely (at least an hour).
- Gently pop the soaps from the mold and enjoy!
Notes
- *You can substitute regular melt & pour soap. The glitter will just settle to the bottom of the mold instead of floating in the layers.
- **If using on children, please check a trusted source for the safe amount to use.
- The use of the rubbing alcohol in between layers is to help them stick together. Spraying the alcohol on the top layer is to prevent bubbles from forming.
- You can melt the soap in all 3 measuring cups in one “assembly” line or you can do each one before each layer. If you do all 3 ahead of time, you may need to re-heat the soaps as they will have begun to harden before you get to the following layers.
Do Not Forget To Pin! So you can come back and make this fun DIY Cotton Candy Soap recipe!

